Mastering the Art of Mounting Disks for Your Trolling Motor
Mounting Disks For Trolling Motor

When it comes to enhancing your fishing experience, a reliable trolling motor can be your best companion on the water. However, to ensure your trolling motor stays securely in place, you need a solid mounting system. Among the various mounting options available, mounting disks stand out as a popular choice. In this blog, we'll delve into the world of mounting disks for trolling motors, exploring their benefits, installation tips, and why they are a crucial addition to your angling arsenal.
The Advantages of Mounting Disks:
- Stability and Security: One of the primary advantages of using mounting disks is the enhanced stability they provide. These disks are specifically designed to distribute the weight and torque of your trolling motor evenly, preventing wobbling or swaying, even in rough waters.
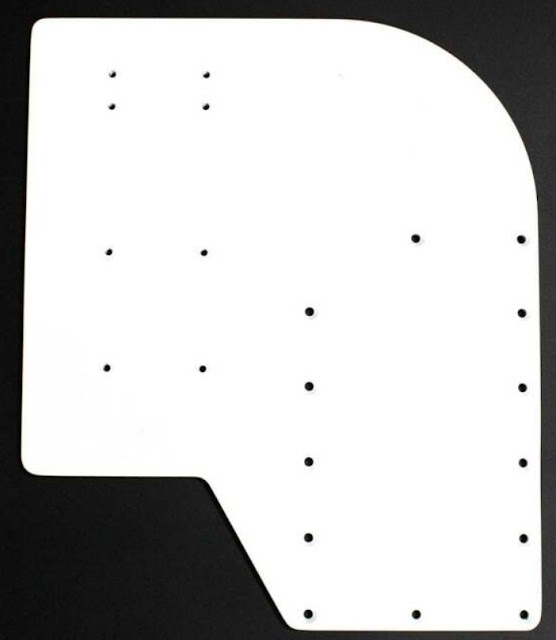
- Quick and Easy Installation: Mounting disks are designed for straightforward installation. Most come with pre-drilled holes, making it easy to attach your trolling motor. This means you spend less time setting up and more time fishing.
- Versatility: Mounting disks can be used on various boat surfaces, including aluminum, fiberglass, and even inflatable boats. Their versatility makes them a great choice for a wide range of anglers.
Installing Mounting Disks for Your Trolling Motor:
Tools and Materials Needed:
- Mounting disk kit
- Trolling motor
- Drill
- Wrench
- Marine sealant
- Screws and nuts
- Screwdriver
Step-by-Step Installation:
- Choose the Location: Select a suitable location on your boat's bow where you want to mount your trolling motor. Ensure it's easily accessible and provides a clear path for the motor's shaft.
- Prepare the Surface: Clean the chosen area thoroughly to remove any dirt or debris. This step ensures a secure attachment.
- Apply Marine Sealant: Apply a layer of marine sealant to the mounting surface. This helps create a watertight seal and prevents water from seeping into the boat.
- Attach the Disk: Place the mounting disk over the sealant and align it with the pre-drilled holes. Use the drill to make holes through the disk and the boat's surface.
- Secure with Screws and Nuts: Insert screws through the holes and secure them with nuts on the underside of the boat. Ensure everything is tightly fastened.
- Attach the Trolling Motor: Now, it's time to attach your trolling motor to the mounting disk. Follow the manufacturer's instructions for a proper and secure connection.
- Final Check: Give everything a final check to ensure the trolling motor is securely mounted. Make any necessary adjustments, and double-check the tightness of screws and nuts.
- Let the Sealant Dry: Allow the marine sealant to dry completely before taking your boat out on the water. This ensures a water-tight seal, preventing any potential leaks.
Conclusion:
Mounting disks for trolling motors are a practical and efficient way to secure your trolling motor to your boat's bow. They provide stability, versatility, and ease of installation, making them an excellent choice for both novice and experienced anglers. With the
Comments
Post a Comment